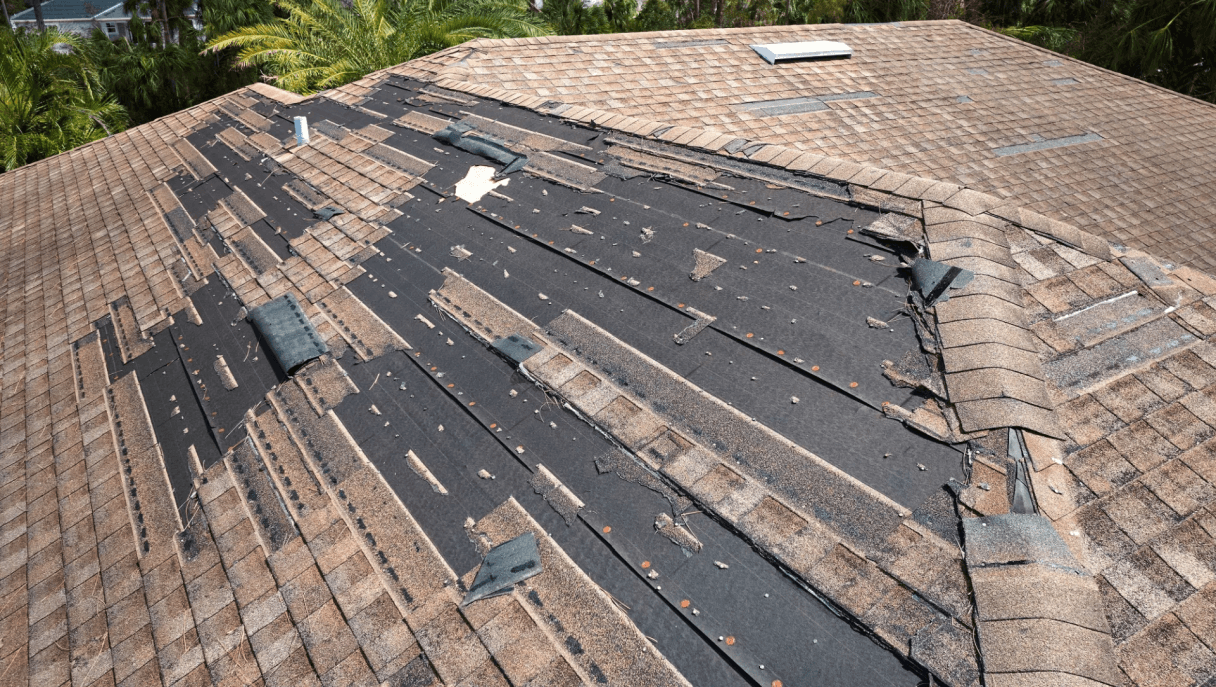
RoofingImpact Resistant Roofing: How It Can Lower Your Homeowners Insurance BillAngela MacphersonJuly 20, 2026
Real EstateIs It a Buyer’s Market Right Now? What Homebuyers Need to KnowAngela MacphersonJuly 20, 2026July 20, 2026
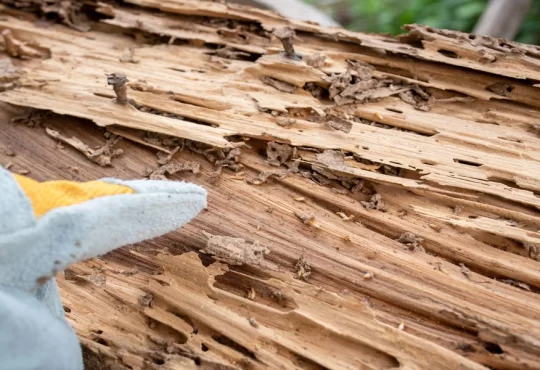
Pest ControlProtecting Huntsville Homes from Costly Subterranean Termite DamageAngela MacphersonJune 19, 2026
BathroomsAre Freestanding Bathtubs a Practical Choice for Small Bathroom Spaces?Clare LouiseJune 17, 2026
HVAC ContractorWhy Does Low Return Airflow Volume Cause The Indoor AC Evaporator Coil Lines To Frost Up?Francis KellerJune 11, 2026
Home ImprovementChoosing the Best Industrial Doors for Demanding Warehouse EnvironmentsAndy HardyMay 26, 2026The heartbeat of any high-traffic warehouse is the door that never stops moving. In these fast-paced environments, choosing the right...
HomeHard Water, Bad Taste, and Hidden Risks: Solving Common Water Problems at HomeClare LouiseJune 1, 2026Water looks clean in your glass. However, dangerous invisible contaminants often hide inside it. You drink this liquid every day....
RoofingImpact Resistant Roofing: How It Can Lower Your Homeowners Insurance BillAngela MacphersonJuly 20, 2026
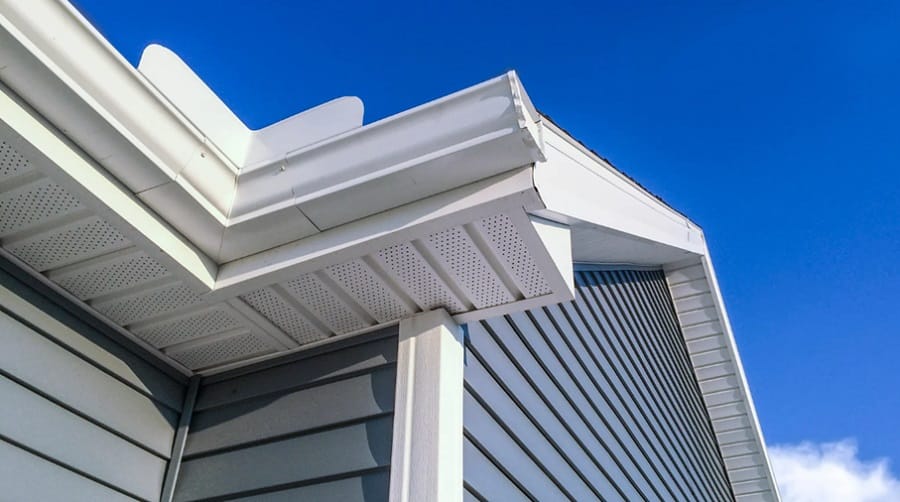
RoofingWhy an Experienced Siding Contractor Matters for Proper InstallationAngela MacphersonJune 24, 2025
Real EstateIs It a Buyer’s Market Right Now? What Homebuyers Need to KnowAngela MacphersonJuly 20, 2026July 20, 2026
Fans With Lights Can Raise the Comfort and Functional Levels in your own homeOctober 13, 2021July 13, 2022
ConstructionWhy Concrete Remains the Top Choice for Outdoor Spaces in LilydaleFrancis KellerMay 30, 2026
ConstructionMilwaukee Revival: Sourcing Local Reclaimed Building MaterialsFrancis KellerMarch 26, 2026
ConstructionThe Importance of Hiring a Professional for Home RenovationsAngela MacphersonDecember 21, 2024
ConstructionHow To Choose a Contractor for Commercial Remodeling ProjectsAngela MacphersonMay 3, 2024May 3, 2024