
Metal roofing is a popular option for homeowners looking for a long-lasting and energy-efficient roof. It is durable, low maintenance and gives a modern look to your home. Installing a metal roofing system requires precision and careful planning. Understanding the basics can help you understand what goes into an installation of quality.
Step 1: Prepare Roof Surface
The roof must first be prepared and inspected. Remove any old roofing materials, such as damaged underlayment or shingles. Surfaces should be dry, clean and devoid of debris. Before moving on, check for structural problems such as rotting or sagging wood. Solid foundations will ensure that your new roof lasts longer and performs better.
Step 2: Installing the Underlayment
A protective barrier is created between the metal panels and the roof decking by an underlayment. It prevents moisture from building up and improves insulation. A high-quality synthetic roofing felt or underlayment is usually rolled horizontally from the bottom edge to the top of the roof. Overlap the layers to ensure full coverage. Secure with roofing staples or nails.
Step 3: Add Flashing
Installing flashing around roof features such as chimneys, vents and valleys will prevent water seeping in. The metal flashing is nailed, screwed or glued in place. It’s then sealed with roofing sealant. Flashing must be installed correctly to avoid leaks. This is especially important in areas where two surfaces of the roof meet.
Step 4: Measure the panels and cut them
It is important to take accurate measurements. To determine the size of every panel, measure the length of your roof from the eave up to the ridge. To trim the panels to the right length, use a power saw or metal shear with a metal cutting blade. Wear safety equipment such as goggles and gloves when cutting metal.
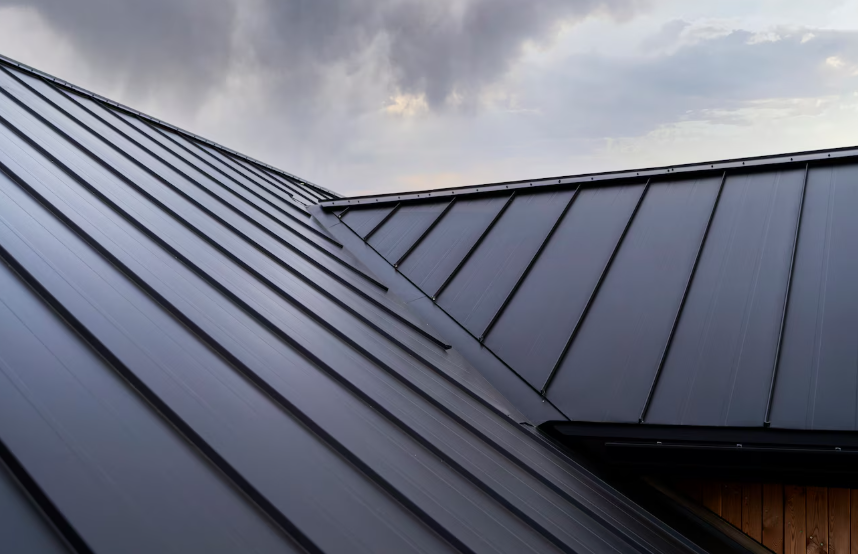
Step 5: Installing the metal panels
Start from one end and work your way to the other. To avoid leaks, position the first panel parallel to the edge of the roof and secure it using screws on the ridges. Each screw should have a rubber washer attached to it for a tight seal. According to the instructions of the manufacturer, slightly overlap each panel. Make sure the seams are straight and tight.
Step 6: Trim and finish the ridge caps
Install ridge caps to seal the seam at the peak of the roof once all panels have been installed. Trim pieces can be added to the eaves and corners of the roof to give it a finished, polished look. They also protect the roof from wind and rain.
Final Tips
Metal roofing installation requires skill and precision. Safety precautions are important, especially when working from heights. Consult a professional if you are unsure of how to handle tools, make measurements or follow installation steps. A metal roof installed correctly can last between 40 and 70 years. This provides peace of mind for you as well as a great long-term investment.
This post was written by a professional at Baypoint Roofing. Baypoint Roofing is a State-certified, insured, bonded, and licensed roofing contractor specializing in insurance restoration, storm damage roof repair Port St Lucie FL, and expert roof inspections and installations. With over 25 years of experience, we proudly serve the entire state of Florida. Whether you need a complete roof replacement or precise repairs, our skilled team delivers unmatched quality and service. Trust Baypoint Roofing to protect your home or business with solutions that endure the Florida elements and exceed your expectations. Your satisfaction is our top priority.


